Checklists
What is a checklist?
A checklist is a persistent widget — typically in the bottom corner of your app — that shows users a list of tasks to complete. Each task can link to a tour, a page, or a specific action. As users complete tasks, the checklist tracks their progress.
Checklists are best for:
- Activation-focused onboarding (getting users to the "aha moment")
- Driving users to complete setup steps in the right order
- Increasing feature adoption post-signup
Creating a checklist
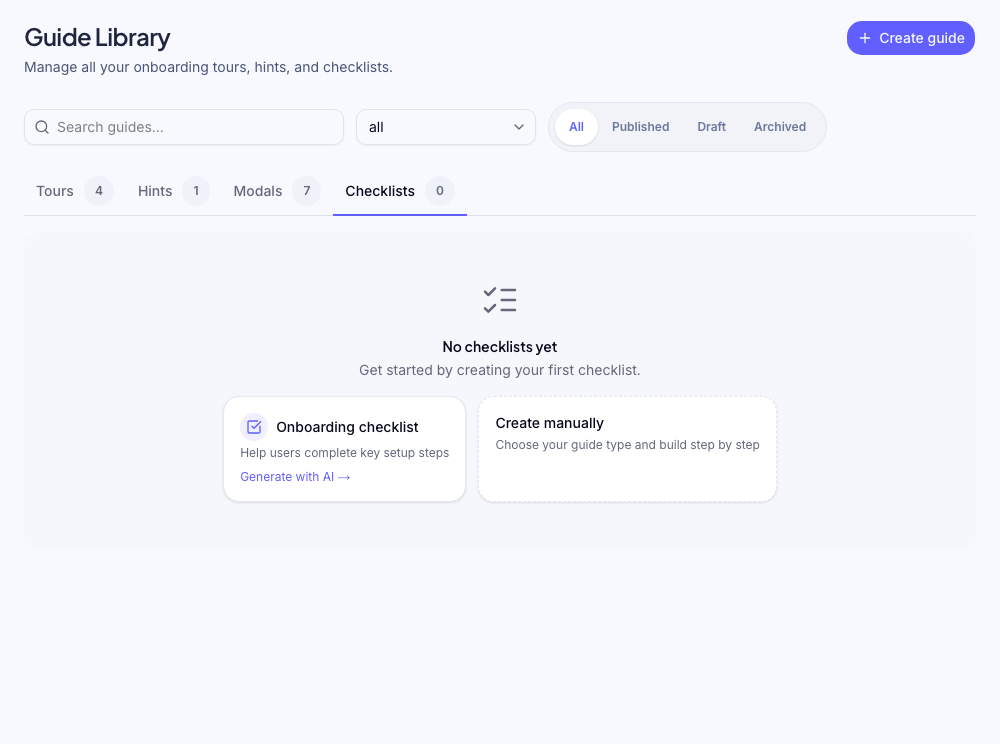
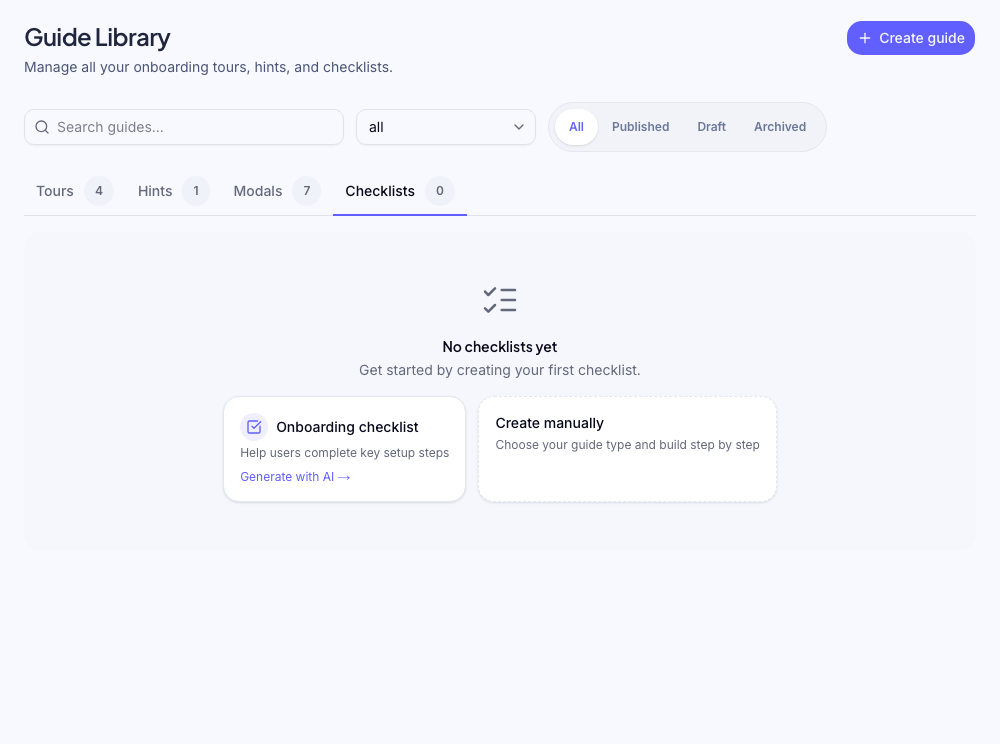
Checklists are built in the dashboard (not the Chrome extension).
- 1
Open the checklist builder
Go to Guide → Checklists in the dashboard and click New checklist.
- 2
Name your checklist
Give it an internal name (e.g., "Onboarding checklist") and an optional title shown to users (e.g., "Get started with Zenstep").
- 3
Add tasks
Click Add task for each item. Each task has: - Label — the task name shown to users (e.g., "Install the snippet") - Completion trigger — how Zenstep knows the task is done (see below) - Action — what happens when the user clicks the task (optional)
- 4
Set targeting and publish
Add targeting rules if needed, then click Publish.
Completion triggers
A task can be marked complete by:
| Trigger | How it works |
| ------------------ | --------------------------------------------------------------------------------- |
| Flow completed | Zenstep marks the task done when the linked tour or flow is completed |
| URL visited | Task completes when the user navigates to a specific URL |
| Event tracked | Task completes when window.zenstep.track("event-name") is called from your code |
| Manual | User marks it complete themselves by clicking the checkbox |
Flow completed is the most reliable trigger for tasks that involve a guided tour — the user sees the tour, completes it, and the checklist item ticks automatically.
Task actions
When a user clicks a task in the checklist, you can:
- Start a flow — launches a linked tour directly
- Navigate to a URL — sends the user to a specific page
- Do nothing — the task is informational; completion is triggered by another event
Checklist widget position
The checklist widget appears in the bottom-right corner by default. You can change this to bottom-left in the checklist settings.
Progress persistence
Checklist progress is stored per user (keyed to the user ID you pass to window.zenstep.identify()). If a user completes a task on one device and returns on another, their progress is preserved.
If you call identify() with different user IDs for the same person (e.g.,
anonymous ID before login, then real ID after), the progress won't transfer.
Always call identify() with a stable user ID after authentication.
Dismissing the checklist
Users can minimize or dismiss the checklist. Once dismissed, it won't reappear unless you change the frequency setting.
Analytics
The checklist analytics page shows:
- Overall completion rate (% of users who finished all tasks)
- Per-task completion rate
- Drop-off point (which task stops users most)
See flow analytics for details.
Was this helpful?
Related articles