Tours
What is a tour?
A tour is a sequence of tooltip-style steps anchored to elements in your UI. Each step highlights one element and explains what it does. Users click Next (or interact with the element) to advance through the steps.
Tours are best for:
- First-time user onboarding
- Introducing a new feature to existing users
- Walking users through a multi-step process
Creating a tour
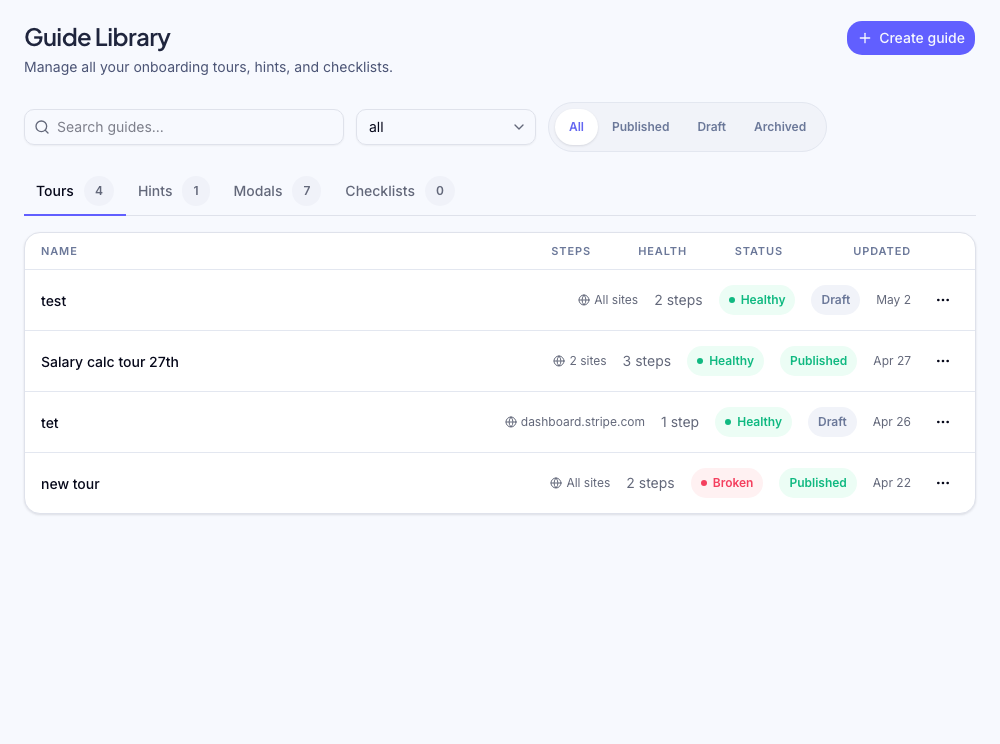
Tours are built with the Chrome extension. Open the extension on your live site, click New Flow → Tour, and add steps by clicking elements on the page.
Step types
Each step in a tour has an advance mode — how the user moves to the next step:
| Advance mode | When to use | | ---------------- | --------------------------------------------------------------------- | | Next button | The default. User clicks "Next" to proceed. | | Target click | User must click the anchored element. Good for interactive tutorials. | | Auto-advance | Moves to the next step after a delay (in seconds). Use sparingly. |
Step content
Each step has:
- Title (optional) — short label for the element
- Body — the explanation text. Keep this to 1–2 sentences.
- Button label — customise the "Next" button text (e.g., "Got it", "Continue")
Positioning
By default, Zenstep positions the tooltip automatically (above, below, left, or right of the element — whichever fits the viewport). You can override the preferred position per step.
Tour settings
From the flow's settings page in the dashboard:
| Setting | Options |
| ----------------- | ---------------------------------------------------------------------- |
| Frequency | Once / Every session / Until completed |
| Start trigger | Automatic (on page load) / Manual (via window.zenstep.start(flowId)) |
Frequency "Once" is the right default for onboarding — each user sees the tour exactly one time. After they complete or dismiss it, it won't show again.
Targeting
Set targeting rules to control which users see the tour and on which pages. See targeting overview for the full reference.
Common setup for an onboarding tour:
- URL rule: page starts with
/dashboard - User attribute:
createdAtis within the last 7 days
Editing a published tour
You can edit a live tour at any time from the dashboard. Changes take effect immediately — users who haven't started the tour yet will see the updated version. Users mid-tour see the version they started with until they complete or dismiss it.
Tour analytics
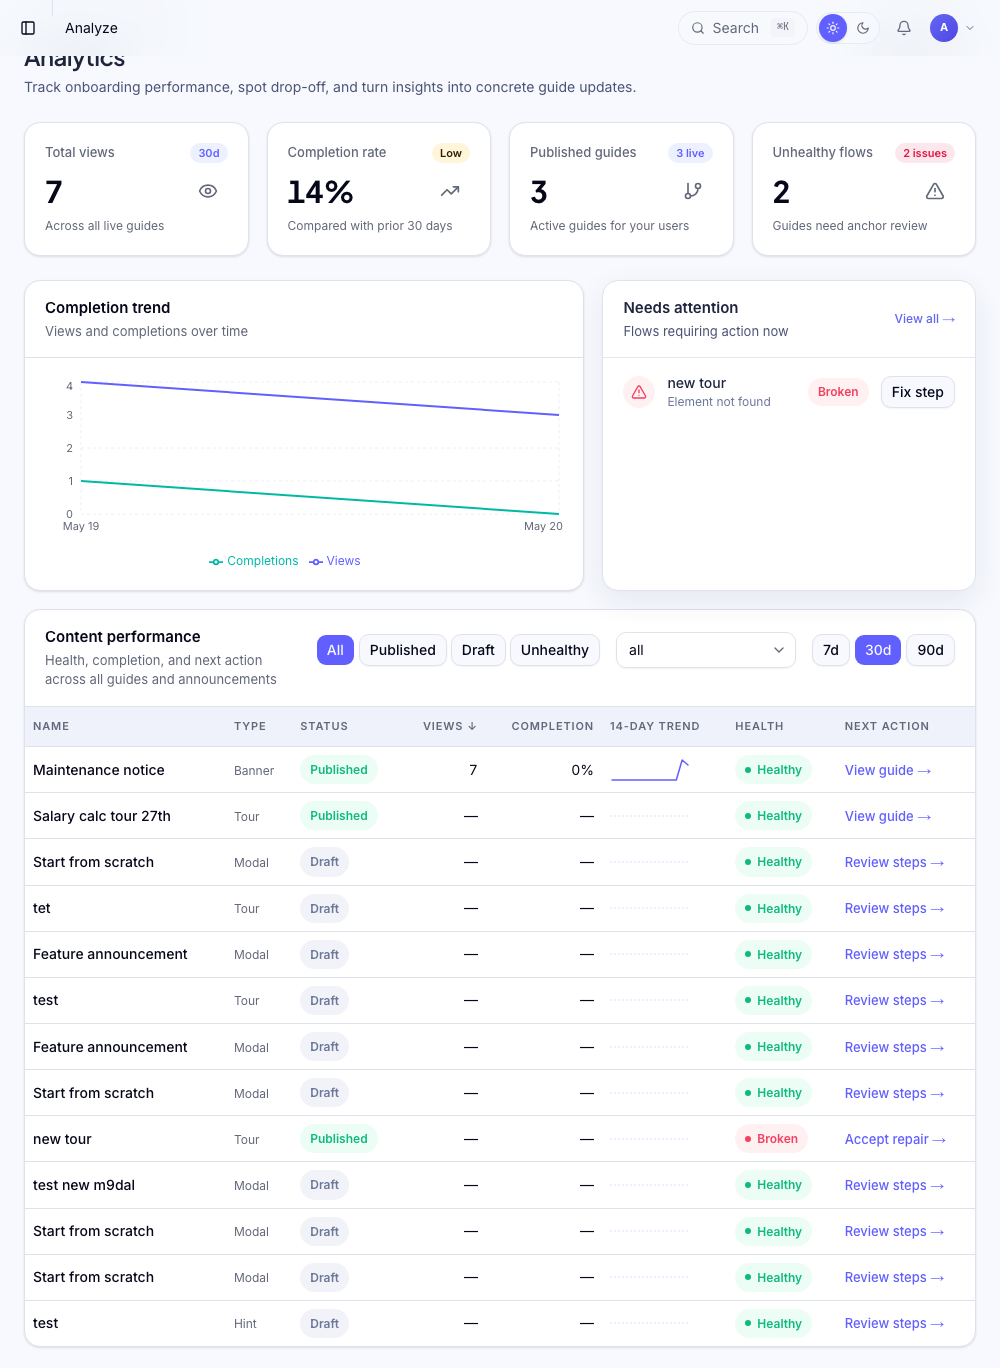
The analytics page for a tour shows:
- Views (how many times the tour was started)
- Completion rate (users who finished all steps)
- Per-step dropoff (which step users abandon most)
Related flow types
- Tooltips — persistent single-step hints, not sequential
- Hotspots — pulsing beacons that open a tooltip on click
- Checklists — task lists that reference individual flows
Was this helpful?
Related articles