Branding
What you can customize
Zenstep uses your brand settings as defaults for all flows. You can override individual settings per-flow, but setting them here means you don't have to configure each flow separately.
Brand settings
Go to Settings → Branding to configure:
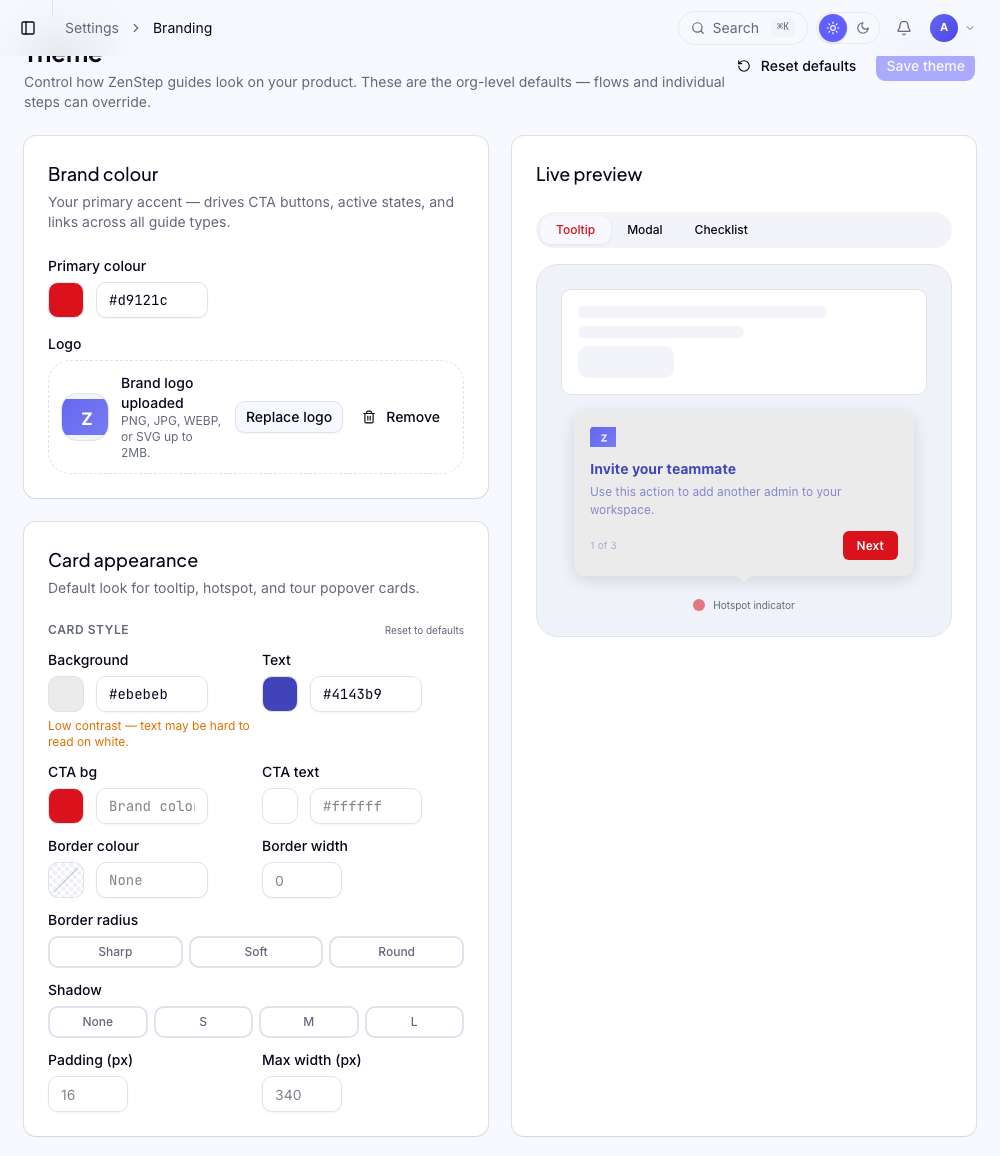
Colors
| Setting | What it controls | | ------------------------- | --------------------------------------------------------------- | | Primary color | Button backgrounds, active indicators, hotspot beacons | | Text color on primary | Text on primary-colored buttons (auto-calculated, can override) |
Enter colors as hex values (e.g., #6366f1). The color picker includes a contrast checker — ensure your text-on-primary passes WCAG AA contrast.
Logo
Upload your product logo. It appears in:
- The checklist widget header
- Multi-step modal headers (if enabled per modal)
Accepted formats: PNG, SVG, WebP. Maximum size: 200 × 60 px (larger images are scaled down). Use a version that works on a white background.
Typography
Zenstep uses the system font stack by default (-apple-system, BlinkMacSystemFont, "Segoe UI", ...). This means flows inherit your users' OS font, which usually looks natural in your app.
You can switch to a custom web font by providing a Google Fonts URL. Example:
https://fonts.googleapis.com/css2?family=Inter:wght@400;500;600&display=swap
Zenstep will inject this <link> tag into the flow renderer.
Loading a custom web font adds a network request on every page where flows appear. Stick to the system font if performance is a concern.
Card style
Controls the appearance of tooltip/tour cards:
| Setting | Options | | ----------------- | ------------------------------------------ | | Border radius | 0px (sharp) → 16px (rounded). Default: 8px | | Shadow | None / Small / Medium / Large | | Background | White (default) / Custom hex |
Per-flow overrides
Any branding setting can be overridden on a per-flow basis. Open a flow's settings and go to Appearance to customize it independently of the global brand settings.
This is useful for:
- A warning banner that should use red regardless of brand color
- A seasonal promotion with custom colors
Preview
Changes to brand settings preview live in the settings page — there's a mock tooltip that updates as you adjust values. Publish changes by clicking Save.
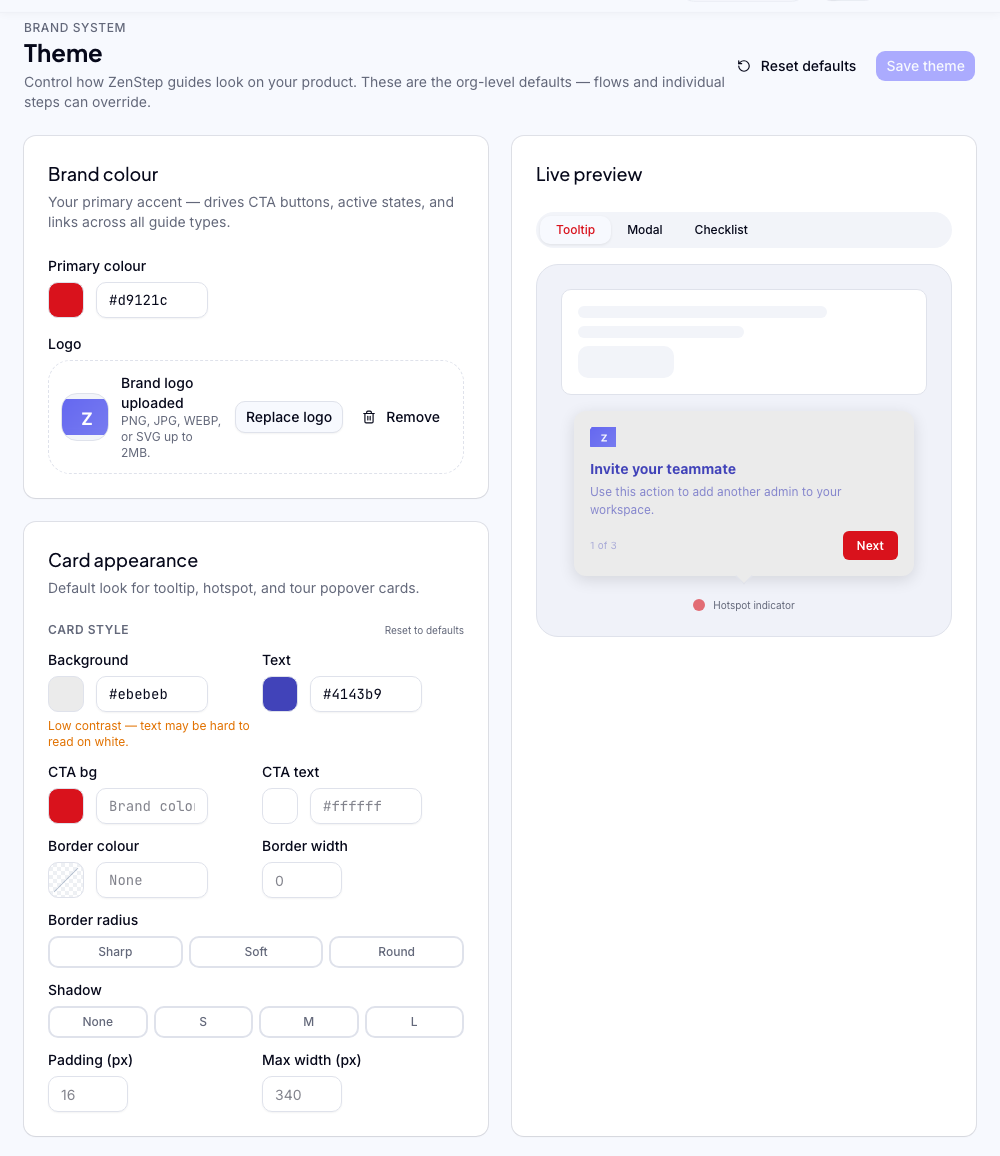
Brand settings take effect for all published flows immediately after saving. No re-deployment required.
Was this helpful?
Related articles